
On initial startup you’ll get a welcome screen. When you press the ![]() button, the next step is that you’ll have to enter the details of the MQTT broker you want to use. See here for more information on MQTT, and here for MQTT details of the ETHA Light Switch Python program on the Raspbetty Pi Zero W.
button, the next step is that you’ll have to enter the details of the MQTT broker you want to use. See here for more information on MQTT, and here for MQTT details of the ETHA Light Switch Python program on the Raspbetty Pi Zero W.

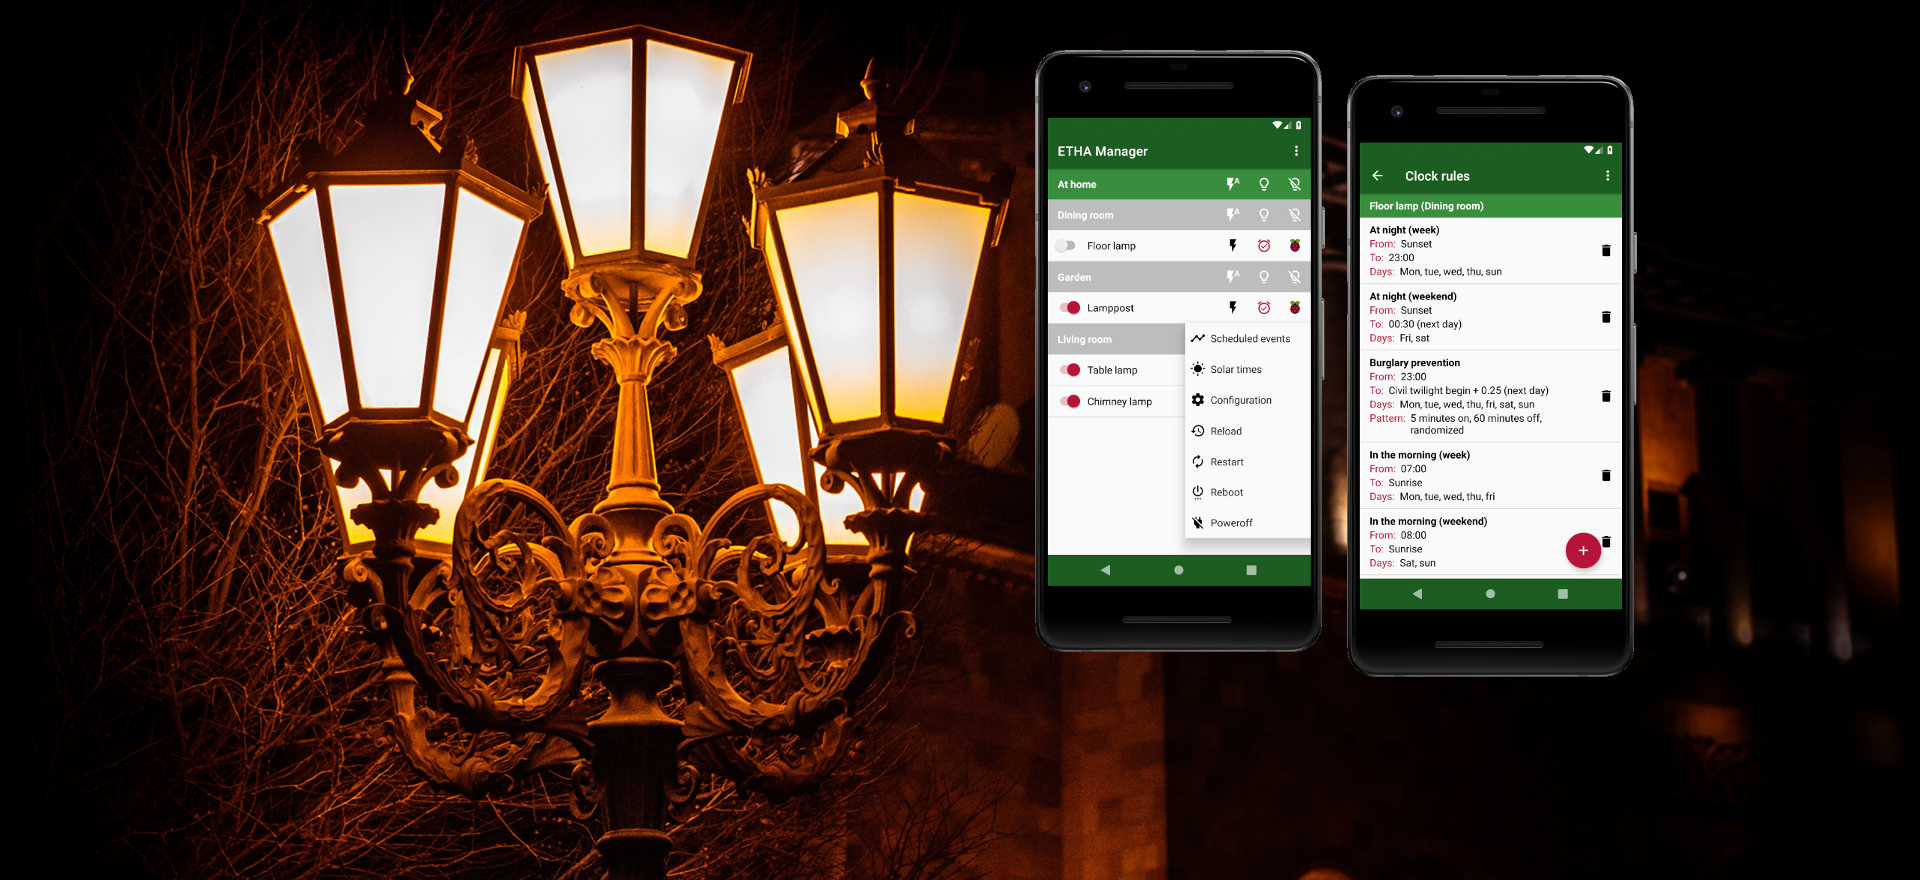
Android app – Beginning
Like all screens in the ETHA Manager Android app where data is added or edited, you can press either the ![]() (Back) button of your device or the
(Back) button of your device or the ![]() (Up) button in the app bar to accept the data you’ve entered.
(Up) button in the app bar to accept the data you’ve entered.
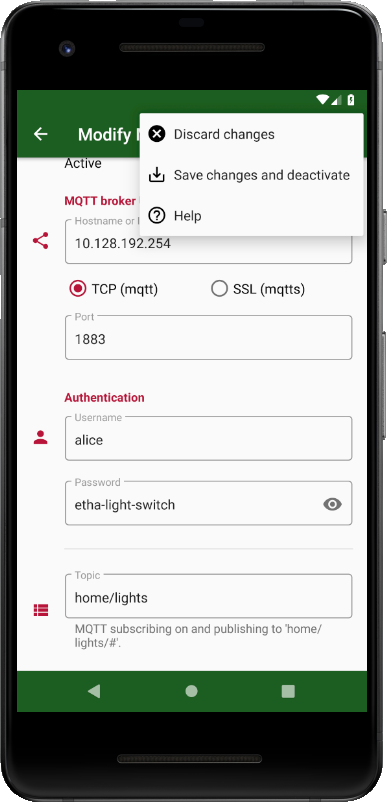
In the case that you want to discard the data you’ve entered, you’ll find the option ![]() Discard changes
Discard changes![]() menu to do that. In the case that there are no modifications at all, the screen will just exit whether you accept or discard.
menu to do that. In the case that there are no modifications at all, the screen will just exit whether you accept or discard.
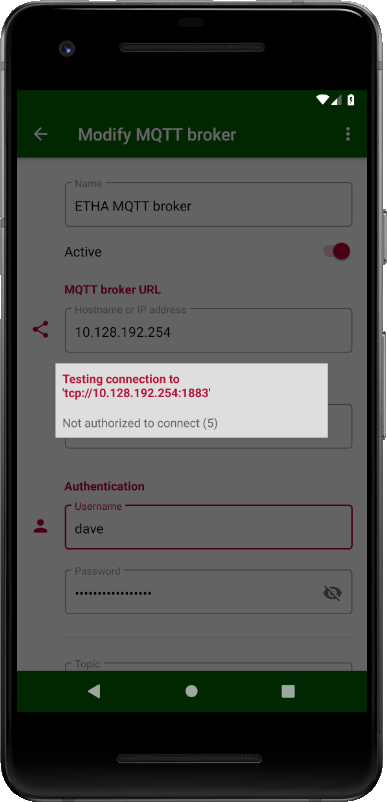
When you’ve accepted your input, the Add MQTT broker or Modify MQTT broker screens (the screens are the same, apart fom their function) will start testing the connection. While testing, a progress bar is shown. This can take a while, up to 10 seconds in the case the test results in a time-out. You can always interrupt the testing by pressing somewhere outside the progress bar window or by pressing the ![]() (Back) button of your device. Once testing is complete, the ETHA Manager Android app will go back to the MQTT broker list screen if everything is alright (the MQTT broker is added or modified) or tell you if something is not right:
(Back) button of your device. Once testing is complete, the ETHA Manager Android app will go back to the MQTT broker list screen if everything is alright (the MQTT broker is added or modified) or tell you if something is not right:
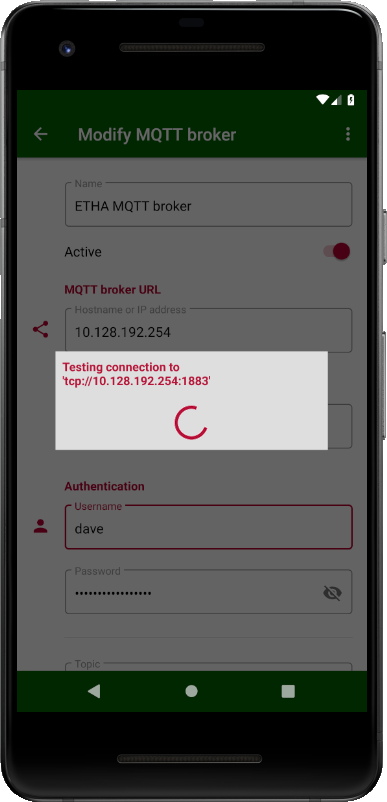
Screenshot Android app – MQTT broker screen – Testing connection
If there is an error, you can either correct the data or choose the option in the menu to ![]() Save changes and deactivate
Save changes and deactivate
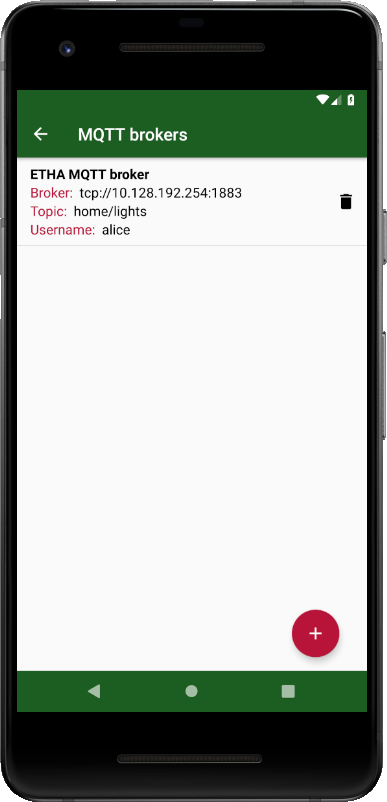
If everything went well, you’ll be taken back to the list of MQTT brokers (just one if this is your initial setup). Here you can press the ![]() button to add another MQTT broker, edit the MQTT brokers that are listed (just press on one of them), or press the
button to add another MQTT broker, edit the MQTT brokers that are listed (just press on one of them), or press the ![]() button to delete an MQTT broker (you’ll be asked for confirmation).
button to delete an MQTT broker (you’ll be asked for confirmation).
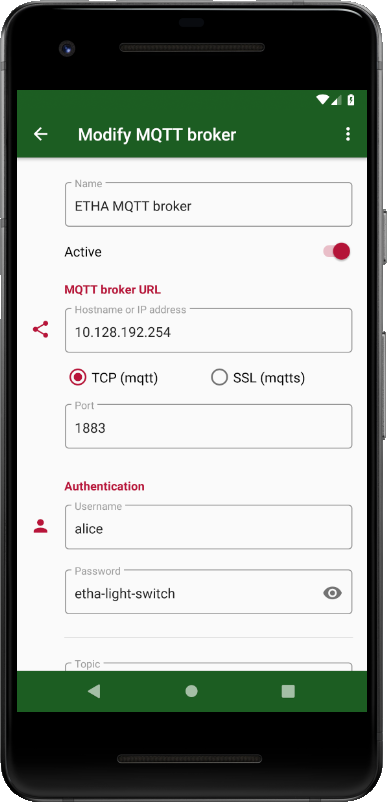
Here is a list of all input fields on this screen:
Name
The name of this MQTT broker connection. Just a descriptive name.
Active
This indicates whether this MQTT broker connection is active or not. If you inactivate this MQTT broker, no attempt to connect to it will be made. This field will also be turned off if you press ![]() Save changes and deactivate
Save changes and deactivate![]() menu.
menu.
MQTT broker URL
 Hostname or IP address
The hostname or IP address of the MQTT broker.
 TCP (mqtt)
or
SSL (mqtts)
A TCP connection to an MQTT broker is easier to set up, but has one major disadvantage: all data sent over this connection is in the clear. That includes usernames and passwords. If your MQTT broker is on your LAN and you have blocked (or not opened up) internet access, this is no big deal, but if your data traverses the internet it is more secure to use an SSL connection.
Choosing ![]() TCP (mqtt)
TCP (mqtt)![]() SSL (mqtts)
SSL (mqtts)Port to the default port number of the chosen protocol (1883 for TCP, 8883 for SSL), except when you already entered a different port number.
Port
The port number on which this MQTT broker listens.
Authentication
 Username
The username to be used for this MQTT broker connection. This can be empty in the case that this MQTT broker supports open access.
Password
The password to be used with the username for this MQTT broker connection. This can also be empty.
 Topic
Topic
This is the topic on which this user (as defined by ![]() Username
UsernamePassword) can publish and subscribe. The value of the field should be the same as mqtt_topic_base as defined in the configuration of the ETHA Light Switch Python program (see here).